


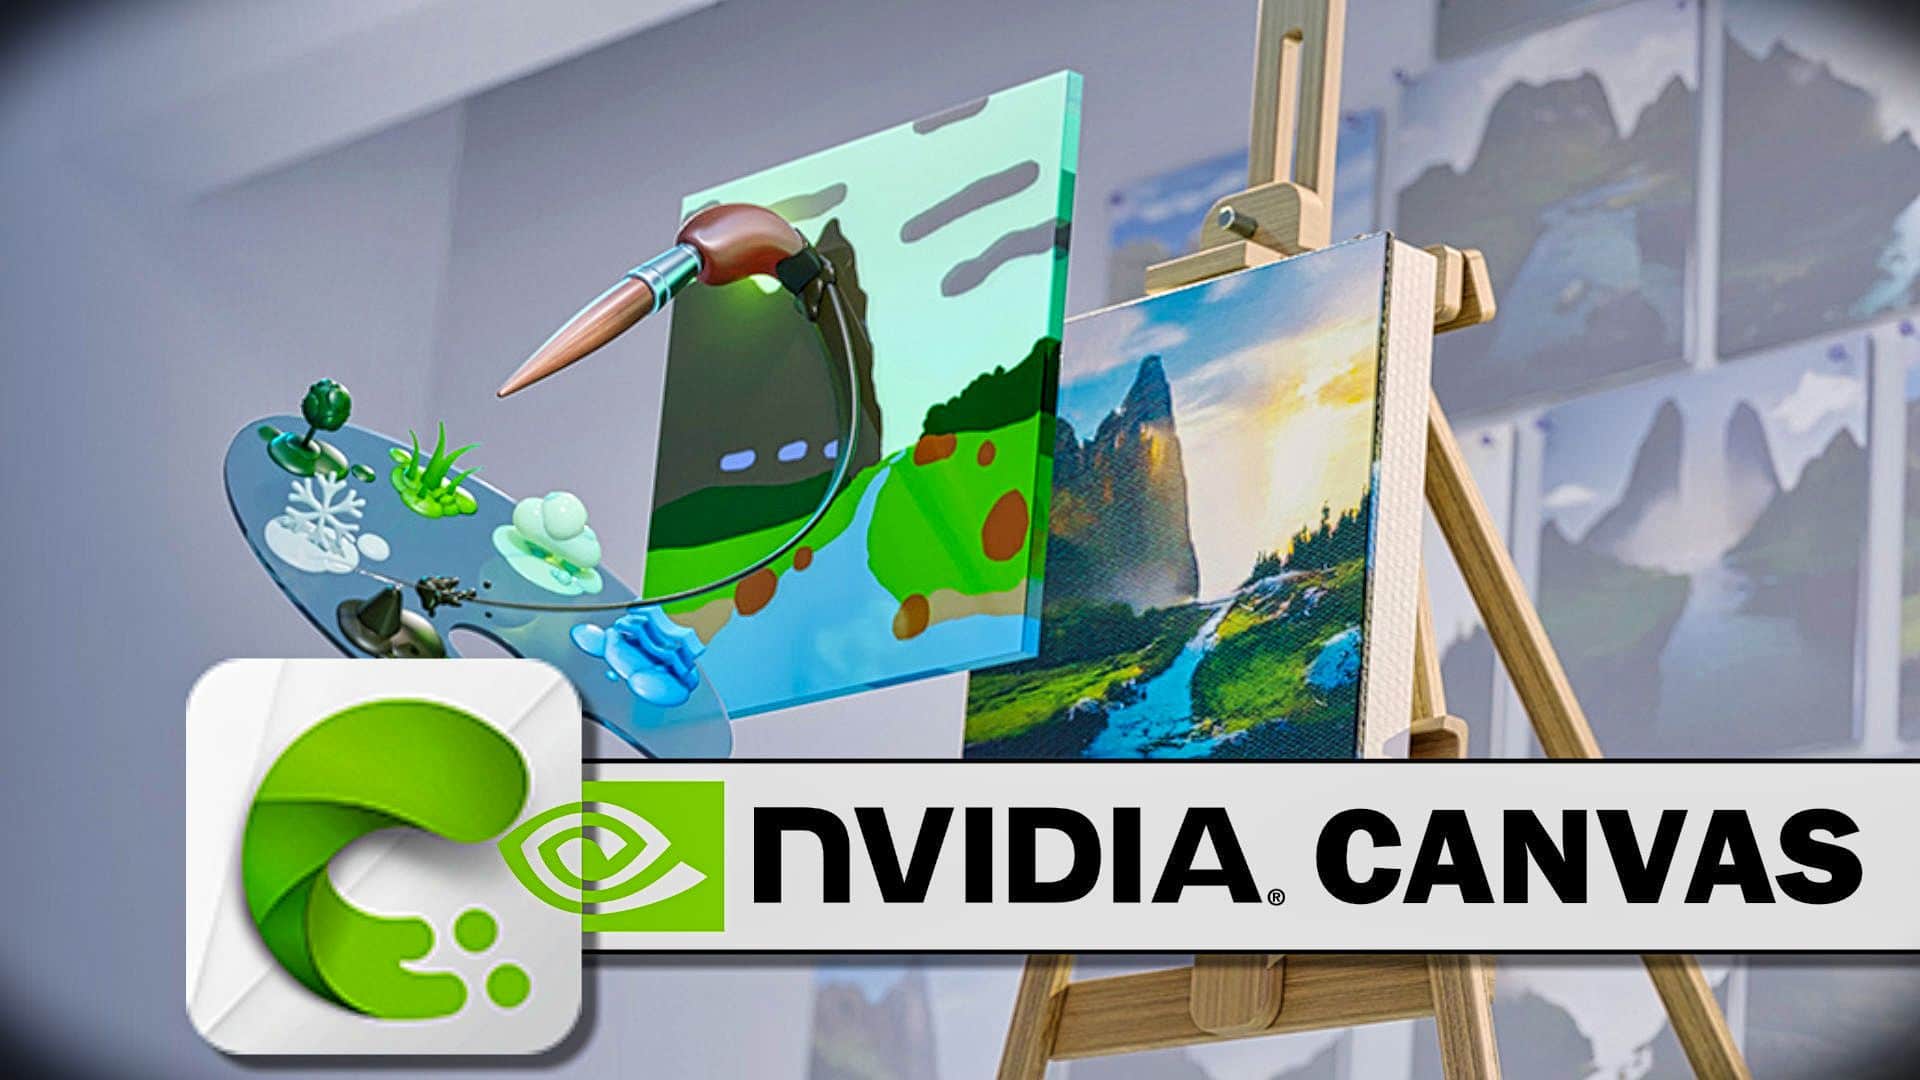
Nvidia Canvas: Creating Art With AI Without Human Intervention
Nvidia Canvas: Creating Art With AI Without Human Intervention
Let’s discuss making pictures of scenery that look like they were taken in real life with Canvas. To get the version, follow the steps and click on the link to Nvidia Studio. You will need an RTX game card and the latest drivers to use this app. When you first open Canvas, you’ll see two boards next to each other.
The Segmentation Map is the name of the left map. Soon, we’ll see why. The outcome picture on the right shows the outcome. We’ll take a look at how that works in a moment. The brush, eraser, line tool, size options, and other tools are on the left screen.
File options, such as undo, redo, navigation, comments, and settings, are at the top. The last and most important thing is that the Material Palette, Styles, and Layers options are in the right column. We’ll discuss all of these as we get to work.
How It All Works
Pick out what you want to paint in the material choice box. You can pick from 20 things: the sky, clouds, water, grass, and more. In a broad sense, you tell the machine which parts of the picture to draw, and it does so using a design from the material selection.
This is why the picture is split up. After that, they mix when you draw with more than one medium next to each other. When two things are blended differently, they mix in, but Canvas takes it to a new level.
Tutorial
Different Styles
It would help if you played around since you’re off to a good start. You can add more rocks, hills, and a stream. You can take back the last few things you did if you make a mistake. Now that we have something nice to look at let’s check out the Styles area.
Each style has its own set of colors, lights, and moods, which are added to your project immediately. For example, use the third style for a scene at night and the first style for a scene in the early morning. You have many options.
Custom Style
It’s fantastic that you can add your picture under “Styles.” When you do this, the computer gives your project the color scheme and style you chose. You can share virtually any image as a style guide, giving you much freedom to be artistic.
Layers
Let’s move on to the last part, which is Lines. When you split your project into layers, it’s easy to hide or show parts of your project and make changes to some parts without affecting others. I’ve learned that putting the cloud material on a layer first helps me get the look I want later, even if everything else is on the same layer. That’s how to use the tools and AI to take pictures of scenery.
Export
Click the “Share” button in the top menu when you’re done making something and want to show it off. You can send it as either PSD or PNG. The PSD sends the sketch and the finished product as two different files. You can also send your friends the PNG.
If you’re like me, you may continue to add some style by running it through Photoshop, Lightroom, or your best photo editor. You can also click the standard “Save” button to save your work. Nvidia’s particular canvas file format will be used to save these files.
Downsides
This app isn’t working right now. The largest size that can be exported is 1024 by 1024 pixels. This is too small for me, but sharing on the leading social media sites should be fine. You’ll not see much when you zoom in.
You might have seen that the board is square and can’t be changed. It’s important to remember that you’ll have to crop the final picture if you want a comprehensive view. AI does a lot of the work, but to make a good picture, you still need to know a bit about planning and perspective.
But once you start playing with it, it’s easy to make scary pictures that look great. Kids also like to draw pictures of places they like. If you have little kids, cousins, or uncles who like this, I think it will help them use their minds more. Do not talk about AI taking over the world.
How To Use Ai To Create Art On Nvidia Canvas
It would help if you did some things before you used the Nvidia Canvas tool to make AI art. These are some of them:
- You need a graphics card from Nvidia called RTX. You need Nvidia RTX Tensor Cores for the app to run.
- The Nvidia drivers must be at least version 520 for RTX 40 series cards and at least version 471.68 for all other cards. Ensure your computer has the most up-to-date drivers for the best speed and to avoid problems.
- Windows 10 or a higher version must be installed on your computer.
- If you want things to run faster and without lag, you should get an SSD.
To use Nvidia Canvas to make AI art, you’ll need these things:
- On the main page, you can set up Nvidia Canvas.
- To start the program, double-click the setup file and follow the on-screen instructions.
- Allow the program to run.
- Another thing that will be there is a menu bar with tools like styles, textures, and layers.
- On the left side, pick the tools and forms you want to draw. The answer will appear on the board to the right immediately.
- Don’t forget to “Save” your work.
- You can make art in any way you want.
- Press the Export button and pick the file type and location you want.
- The art will be saved on your computer.
We hope that this article has helped you learn more about Nvidia’s Canvas technology, its capabilities, and how it can help you make interesting art and pictures. Canvas makes it much faster and easier to make beautiful pictures.
If you are a graphic designer, a film director, or someone who likes making digital art, this software might help you take your work to the next level. Work on Canvas is still ongoing, and things are likely to change and add to the software soon.
Conclusion
Just give it a try and enjoy it. Watch out, because it’s easy to get hooked. When I first got Canvas, I spent about four hours drawing dozens of things.